Features
Customers
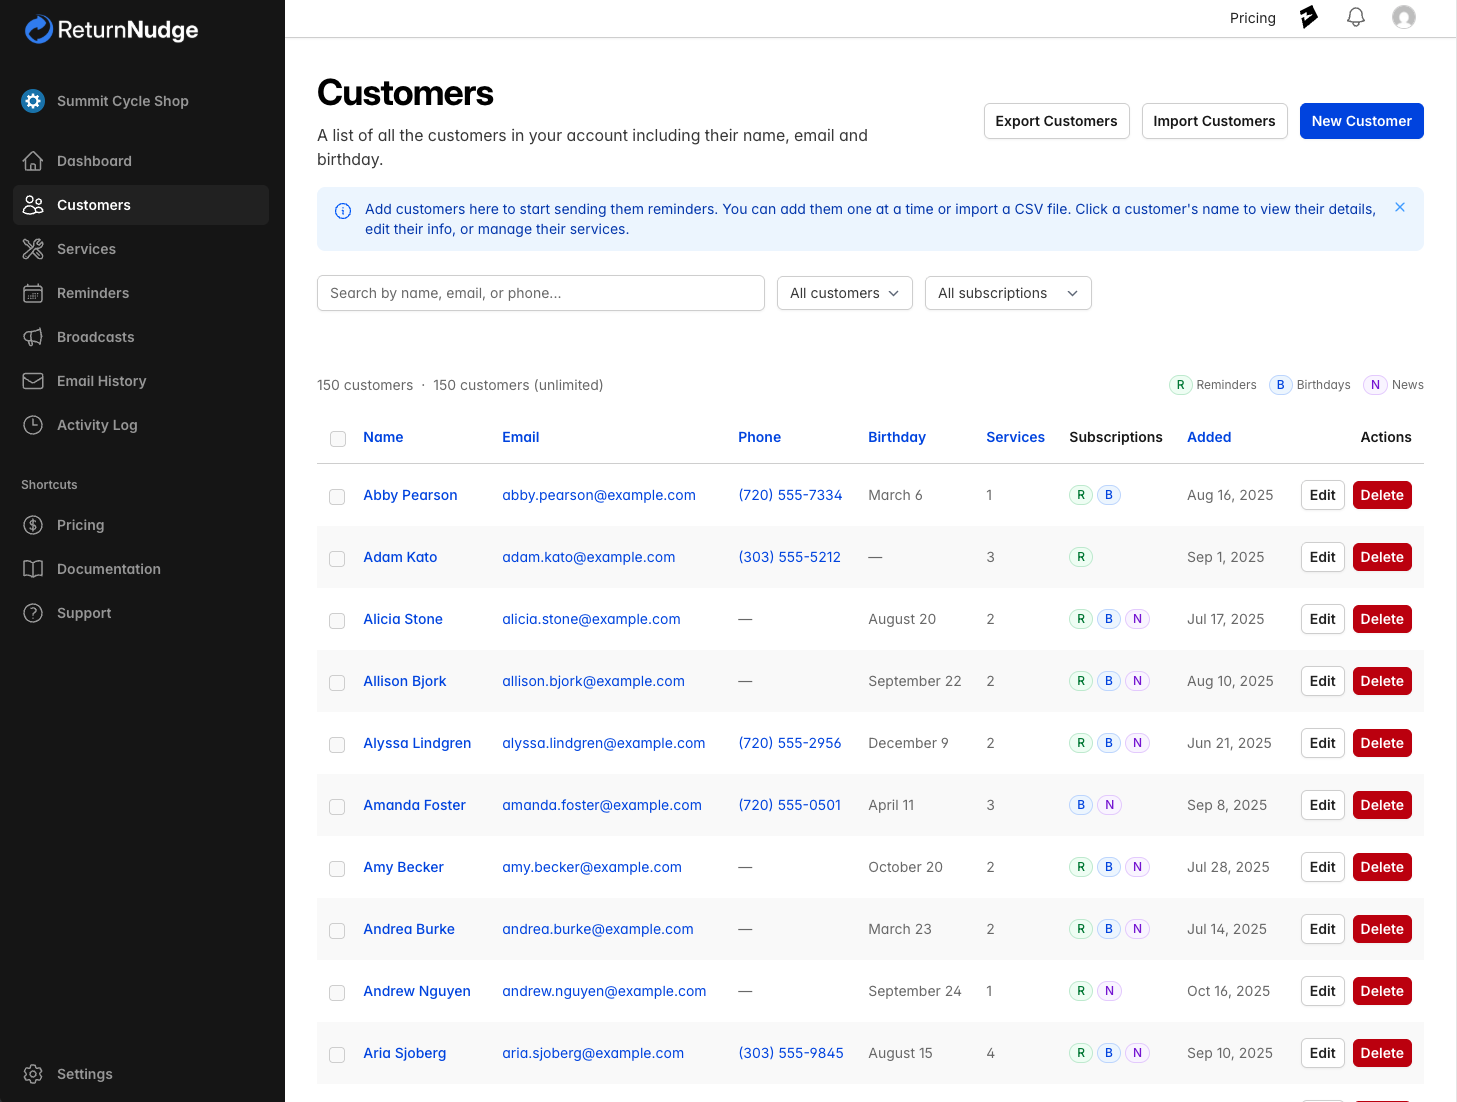
Add, manage, import, and organize your customer database.
Overview
The Customers section is where you manage everyone who receives emails from your business. Each customer record stores their contact information, service history, and email preferences.
Adding Customers
Manual Entry
- Navigate to Customers in the sidebar.
- Click New Customer.
- Fill in the required fields:
- Name — The customer's full name
- Email — Required for sending emails
- Optionally add:
- Phone Number
- Birthday — Select the birth month and day from the dropdowns (enables birthday emails)
- Set subscription preferences — Choose which email types the customer receives (reminders, birthdays, promotions).
- Optionally assign the customer to a service with a start date.
- Click Save.
CSV Import
For bulk additions, use the CSV import feature:
- Click Import on the Customers page.
- Upload a CSV file with the following columns: name, email, phone, birth_month, birth_day, subscribed_to_reminders, subscribed_to_birthdays, subscribed_to_news.
- After uploading, you'll see a summary of successful imports and any skipped rows with error details.
- Download the rejected rows CSV to correct and re-import if needed.
Note: CSV import requires a plan that includes this feature. Duplicate email addresses are automatically skipped.
Kiosk Mode
Let customers register themselves using Kiosk Mode on a tablet at your business location.
Customer Details
Click any customer's name to view their detail page, which shows:
- Contact Information — Name, email, phone, birthday, and date added
- Subscriptions — Color-coded badges showing which email types are active (reminders, birthdays, promotions)
- Assigned Services — Services the customer is enrolled in, with start date, next reminder date, last completed date, and status
- Service Completions — A timeline of the customer's most recent service completions, showing which service was completed, when, and by whom. Click View all to see the full history in Service History.
- Email Activity — The 20 most recent emails sent to this customer, with links to view the full email

Managing Customer Services
From a customer's detail page, you can:
- Assign a service — Click Assign Service to enroll the customer in a new service. Set a start date and optionally an Item Name to identify the specific item (e.g., "2020 Toyota Camry"). The same service can be assigned multiple times with different item names — useful when a customer has multiple items that need the same service.
- Complete a service — Mark a service as completed, which resets the reminder timer and schedules the next reminder
- Edit a service — Change the start date or item name for an existing assignment
- Remove a service — Remove a service enrollment
Bulk Operations
Select multiple customers using the checkboxes to perform bulk actions:
- Bulk Assign Services — Assign selected customers to one or more services with a start date. You can also select all customers matching your current search and filters across all pages.
- Bulk Delete (admin only) — Permanently remove selected customers and all their associated data.
Note: Deleting a customer is permanent and will remove all their associated service records and email history.
Bounced Emails
When an email to a customer fails to deliver (bounces), ReturnNudge automatically marks that customer's email as bounced. Bounced customers are excluded from all future email sends — including reminders, birthday emails, and broadcasts — until the issue is resolved.
How You'll Know
- Customer list — Bounced customers show a red email address with a warning icon instead of the usual clickable link.
- Warning banner — If any customers have bounced emails, an amber banner appears at the top of the Customers page showing the count and a link to filter for bounced customers.
- Customer detail page — A red warning banner and a "Bounced" badge appear on the customer's page, showing the date the bounce was detected.
High Bounce Rate Warning
If too many emails bounce across your account (more than 5% of emails sent in the last 7 days), ReturnNudge automatically pauses all email sending to protect your sending reputation. You'll receive an email notification and see red warning banners throughout the app. To resume sending:
- Filter your customer list by Bounced emails to see affected customers.
- Fix or remove invalid email addresses.
- Go to Settings and click Resume Sending.
Note: If the bounce rate is still high after resuming, sending will be paused again after the next bounce event.
Fixing a Bounced Email
To resume sending emails to a bounced customer, edit the customer and change their email address to a valid one. Saving a new email address automatically clears the bounce status.
Searching and Filtering
Use the search bar at the top of the customer list to find customers by name, email, or phone number. You can also filter by:
- Birthday — All, with birthday, or without birthday
- Subscription — All, subscribed, or unsubscribed
- Email status — All, or bounced emails only
Click any column header to sort the list by name, email, phone, birthday, services count, or date added. Use the pagination controls to choose how many customers to show per page (10, 25, 50, or 100).
Exporting Customers
Click Export on the Customers page to download a CSV file of your customer data. The export respects your current search and filter settings, so you can export a subset of customers if needed.